


Afterimage is a visually stunning Metroidvania that combines fluid combat, deep lore, and non-linear exploration in the ruined world of Engardin. While its hand-drawn art and atmospheric soundtrack draw players in, the game’s true depth lies in its layered mechanics—from traversal and skill upgrades to boss strategies and multiple endings. This guide breaks down the journey into ten progressive sections, helping you navigate the game’s challenges and secrets with confidence.
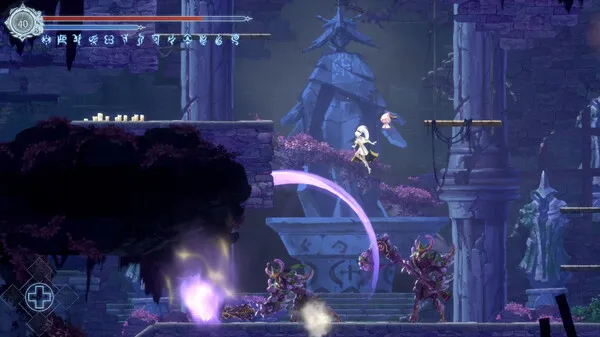
- Understanding the World of Engardin Engardin is vast, interconnected, and filled with secrets. Unlike linear platformers, Afterimage encourages exploration and backtracking. Each region—from the Rainbow Plains to the Sunken Sanctum—has unique enemies, environmental hazards, and lore-rich NPCs.
Use the customizable map system to mark locations of interest. With up to 200 icons and 16 types, you can track inaccessible areas, hidden bosses, and quest-giving characters. This will save time later when you revisit zones with new abilities.
Tips:
- Mark every locked door, NPC, and treasure chest
- Use Resting Potions to fast travel between Confluence Trees
- Navigating Skill Gates and Traversal Upgrades Progression in Afterimage is tied to traversal abilities like Crimson Dash, Super Jump, and Wall Climb. These are unlocked by defeating specific bosses or acquiring Afterimages tied to story events.
Skill gates are everywhere—some are obvious, like high ledges, while others are hidden behind destructible walls or illusionary terrain. Keep track of these barriers and return once you’ve unlocked the required movement ability.
Essential Abilities:
- Crimson Dash – unlocked in Goliathfall
- Super Jump – acquired via Phoenix NPC in Solar Birthplace
- Wall Climb – found in Whispering Forest
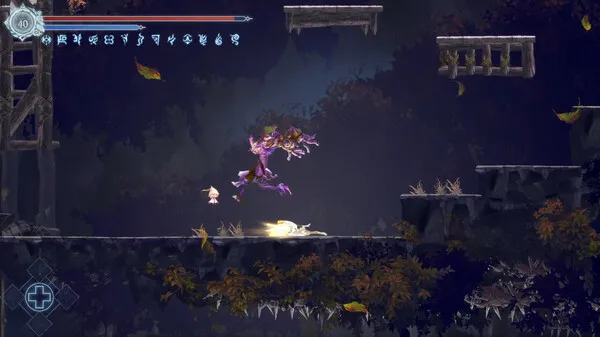
- Combat Mechanics and Weapon Types Combat in Afterimage is fast-paced and punishing. You’ll need to master dodging, parrying, and combo timing. Weapons include swords, greatswords, whips, and ranged tools, each with unique attack patterns and scaling attributes.
Experiment with different weapon types to find your preferred style. Some enemies are weak to specific damage types, so switching gear mid-run can be strategic. Don’t forget to upgrade weapons at Resting Trees using collected materials.
Combat Tips:
- Use light weapons for speed, heavy for stagger
- Equip ranged tools for flying enemies
- Upgrade frequently to keep pace with enemy scaling
- Managing Afterimages and Passive Skills Afterimages are passive abilities that enhance your stats, movement, or combat. You can equip multiple Afterimages and swap them at Resting Trees. Some grant elemental resistances, while others boost healing or critical damage.
Unlocking new Afterimages often requires defeating bosses or completing side quests. Pay attention to synergy—some Afterimages work better when paired with specific weapons or glyphs.
Recommended Afterimages:
- Flower of Confluence – enables fast travel
- Eye of Gongor – boosts vision and detection
- Glyph of Light – enhances healing and defense
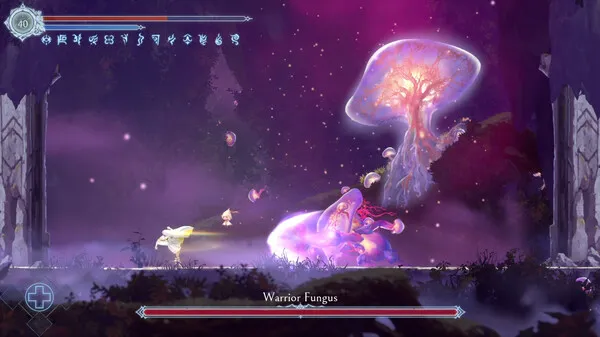
- Boss Strategies and Difficulty Scaling Bosses in Afterimage are beautifully animated and brutally difficult. Each has unique attack patterns, elemental affinities, and phase changes. Learn their tells and adjust your gear accordingly.
Use Resting Potions to save progress before tough fights. Some bosses drop key items required for progression or unlocking endings. If you’re stuck, revisit earlier zones to grind for upgrades or find hidden Afterimages.
Boss Prep Checklist:
- Stock up on healing items
- Equip elemental resistances
- Use ranged attacks for mobility
- Side Quests and NPC Interactions NPCs in Engardin offer side quests that reveal lore, unlock gear, and provide Afterimages. These quests are often cryptic and require exploration or item collection. Some NPCs move between zones, so revisit towns frequently.
Dialogue choices can affect quest outcomes. Pay attention to hints and mark quest-related locations on your map. Completing side quests is essential for unlocking certain endings and rare gear.
Quest Tips:
- Talk to every NPC multiple times
- Track quest items in your inventory
- Use map icons to mark quest zones
- Resource Management and Crafting Resources like healing items, upgrade materials, and Resting Potions are limited. Use them wisely, especially in boss zones. You can craft or purchase items from vendors using currency earned from combat and exploration.
Upgrade your gear at Resting Trees and manage your inventory to avoid clutter. Some items are quest-specific and should not be sold. Keep an eye on your glyph count, which affects health and ability usage.
Resource Tips:
- Prioritize healing and Resting Potions
- Upgrade weapons before armor
- Save rare materials for endgame gear
- Unlocking Multiple Endings Afterimage features 10 endings, each tied to specific choices, items, and boss outcomes. You can unlock all endings on a single save file if you manage your Memory Shards and glyphs carefully.
Endings are split between Renee and Ifree paths, with additional NG+ variants. To unlock “The Essential” ending, for example, you must insert 3 Memory Shards and defeat two bosses without restocking healing items.
Ending Paths:
- Homecoming – basic ending via Sunken Sanctum
- Journey – Ifree survives with 8 glyphs
- The Hope – defeat Ifree after soul invasion
- Navigating New Game+ and Replayability New Game+ unlocks after completing the main story. You retain gear, Afterimages, and map progress, but enemies are tougher and bosses gain new moves. NG+ also unlocks 3 exclusive endings.
Use NG+ to explore missed areas, complete side quests, and experiment with different builds. The increased difficulty rewards mastery and offers new lore insights.
NG+ Tips:
- Focus on elemental resistances
- Revisit marked map zones
- Try alternate dialogue choices
- Final Tips for Completionists To reach 100% completion, you’ll need to uncover every map tile, defeat all bosses, complete side quests, and collect every Afterimage. Use guides and community maps to find hidden paths and secrets.
Track your progress via the in-game menu and Steam achievements. Completion unlocks the Easter Egg ending and rare gear. Be patient—some areas require multiple revisits with new abilities.
Completion Checklist:
- All 8 glyphs collected
- All endings unlocked
- All map zones explored
Conclusion Afterimage is a rich, challenging Metroidvania that rewards exploration, experimentation, and persistence. By mastering traversal, combat, and quest systems, you’ll uncover the full depth of Engardin and its haunting beauty. Whether you’re chasing endings or building the perfect loadout, this guide equips you to make the most of your journey